
Many individuals aspire to maintain a pristine vehicle free from clutter and disarray, aiming instead for that sleek, original equipment manufacturer (OEM) aesthetic. Adding a dashboard camera presents additional considerations regarding tidiness since visible wires detract from this desired neatness. This issue becomes even more critical when driving commercially, like working for ridesharing services. We will explore methods to discreetly route these wires, ensuring both functionality and an uncluttered cabin ambiance reminiscent of new cars right off the assembly line.
solusikaki.comthanks Vantrue for supporting this Dash Cam Buyer's Guide Series
Where To Start
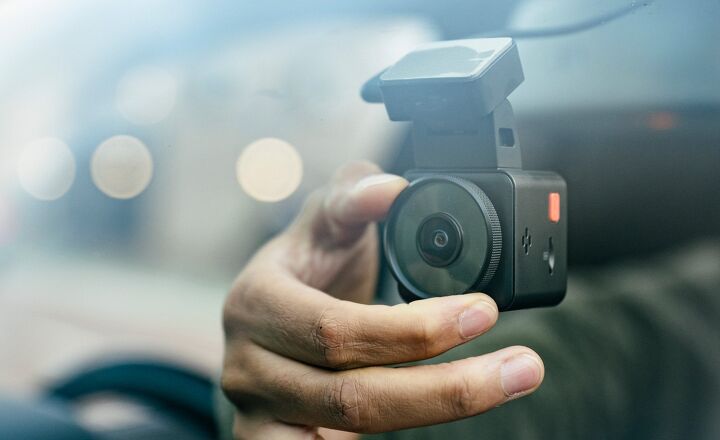
After determining which dashboard camera (dash cam) you intend to use and identifying the optimal mounting location for it, the next step involves deciding on the method of powering the device as well as figuring out where the cables should be routed. Should you choose to hardwire your dash cam, concealing the wires becomes simpler compared to running them through your vehicle’s 12-volt socket located on the dashboard. With these details established regarding both the power source and positioning of the camera, you can proceed with making plans accordingly.
Fake It Until You Make It
Have you ever seen those fabrication shows on television? Frequently, they'll construct a model of the component they plan to create out of an easily manageable material prior to starting the actual production process. This approach minimizes errors and provides a clearer vision of the final outcome. Similarly, when hiding cables, this strategy can be very useful.
The ideal tool for beginning the mock-up process is some masking tape. Start with this. dash cam Attach everything securely, then use masking tape to mark where you'd like the wire to go. This allows you to make sure of the placement without making irreversible changes such as removing trim pieces or drilling holes prematurely. For instance, avoid cutting an opening in your ceiling for the cable to travel up the post if later you discover that routing the cable downward through the post isn’t feasible.
Creating a complete simulation of the wiring setup prior to beginning your project allows you to assess whether you possess sufficient cable length to connect to the power supply. Additionally, this step aids in identifying if you will end up with excess wire or cord that requires further handling.
The Roof
If you're mounting your dash cam Look behind you via the rearview mirror; initially verify whether a cable is already present in that region. Various cars feature an integrated antenna here, along with possibly having systems like a backup camera or another gadget installed. Additionally, consider elements such as map lights, sunroofs for storing items, et cetera. In most contemporary vehicles, there’s usually some mechanism attached to the car’s ceiling offering you a route to connect your own wire seamlessly alongside these pre-existing ones.
The primary warning we'd like to emphasize is to keep your cord away from the seam where the windshield attaches to the vehicle’s frame. It's best to steer clear of this region since having items obstructing this area could lead to complications when replacing the windshield down the line. Interfering with the seal during installation is something you definitely want to prevent, believe us.
The Pillars
The supports mentioned here are the structures that outline your windshield and connect the roof to the vehicle’s chassis. They frequently serve as excellent spots for routing wires since you typically just need to remove a few screws to take off the plastic covering, providing easy passage for running the wire from the roof down to the dashboard and firewall.
Be very cautious at this point. Should the pillars include an integrated airbag system, refrain from taking action. Check your owner’s manual or consult a mechanic to determine whether there is sufficient space to thread the cord without interfering with the airbags. You definitely want to avoid tampering with your safety mechanisms.
The Dash
After positioning your cables along the dashboard, they become simpler to conceal. Should you be routing the cable down towards the 12-volt socket for connecting the dash camera, consider guiding the wires alongside and beneath the dashboard to access the power outlet.
Several additional items commonly available at auto parts stores or electrical shops can greatly assist in neatly storing cables within your car’s dashboard or other areas. Zip ties will prove incredibly useful for this purpose. They offer the best method to fasten an electronic cable securely out of sight or prevent it from hanging loose.
Cord sleeves are also a great way to hide a cord and keep it secured in a spot without being able to route it under an existing part of your vehicle interior. These are often rubber covers that hold the cord within, and have an adhesive backing to secure it in place. It makes a great way to route a cord along trim, or the dash and keep it looking clean. Plus, it can give you an option in case you decide to remove the dash cam later, or relocate it. It is always good to have options.
The most important part of hiding your dash cam Cords suggest taking time to ponder things thoroughly before diving into them. Spending a brief period planning ahead can ensure that the procedure flows more smoothly and operates more effectively. This approach also frequently yields a neater appearance, which tends to be the primary objective.
2025 Aston Martin Vantage: Complete Information
Join solusikaki.com now. Be among the first to get the newest updates from the car industry directly. subscribing to our newsletter.